This guide walks you through everything you need to do inside Firebase to get your credentials ready. The entire process takes around 10 minutes and only needs to be done once.
Before You Begin #
Make sure you have a free Google or Gmail account. If you do not have one, create one at google.com before starting.
Part 1 – Create a Firebase Project #
Step 1. Go to https://console.firebase.google.com/ and sign in with your Google account. You will see the Firebase welcome screen.
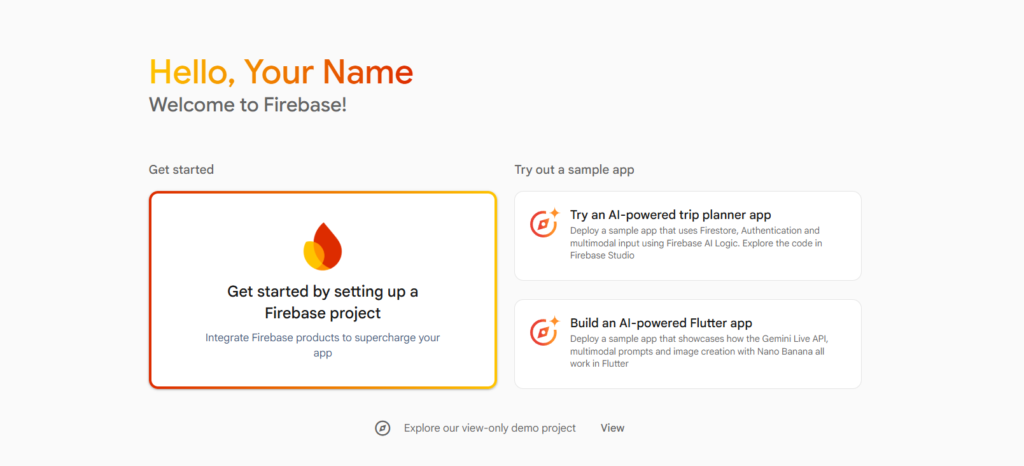
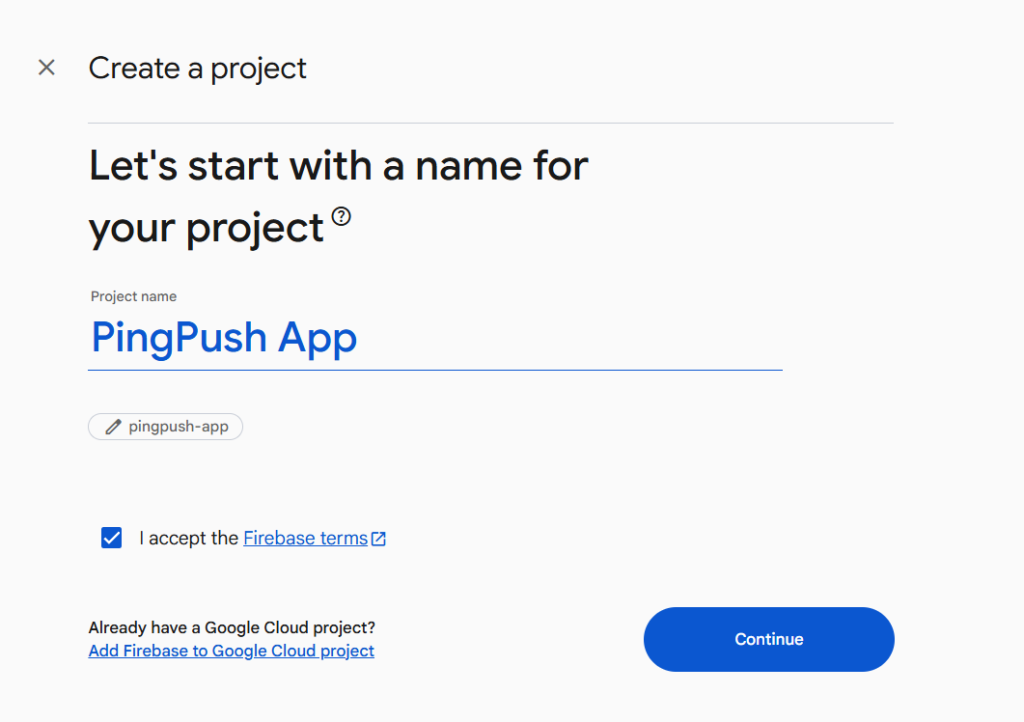
Step 2. Click Get started by setting up a Firebase project. A dialog will open asking you to name your project. Enter a name, for example “PingPush App”. Accept the Firebase terms and click Continue.
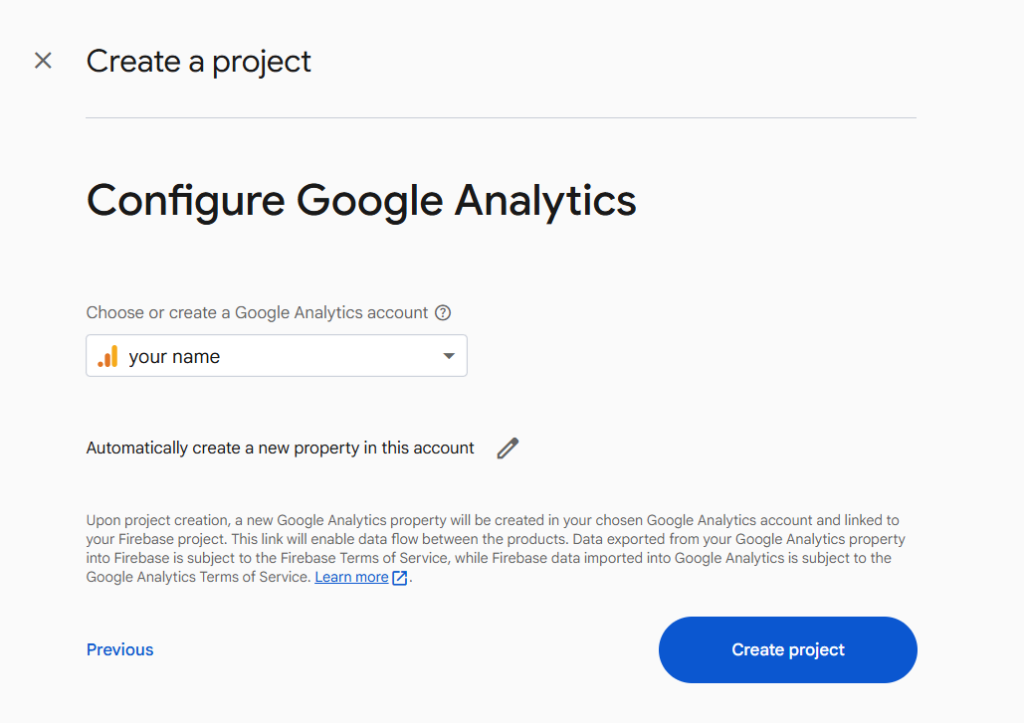
Step 3. The next screen asks about Google Analytics. This is not required, you can leave it as is and click Create Project.
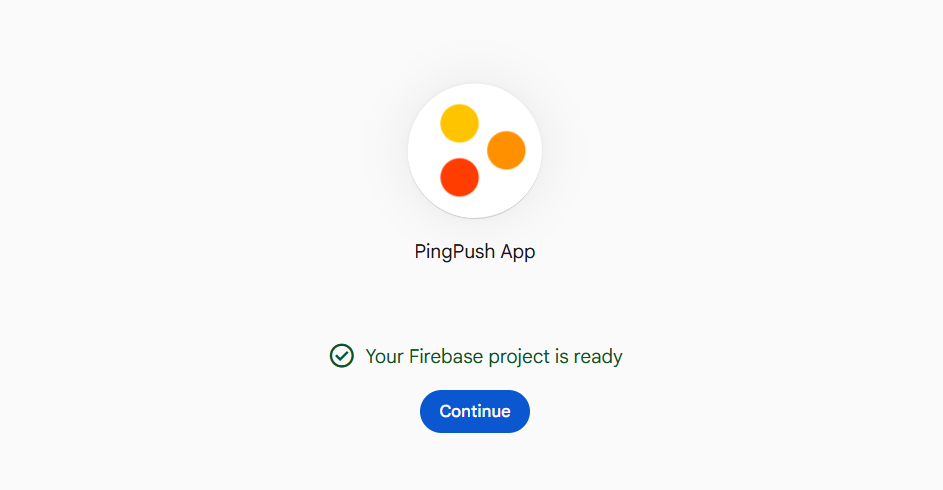
Step 4. Firebase will take a few seconds to set up your project. Once done, you will see a confirmation screen saying Your Firebase project is ready. Click Continue.
Part 2 – Register Your Website as a Web App #
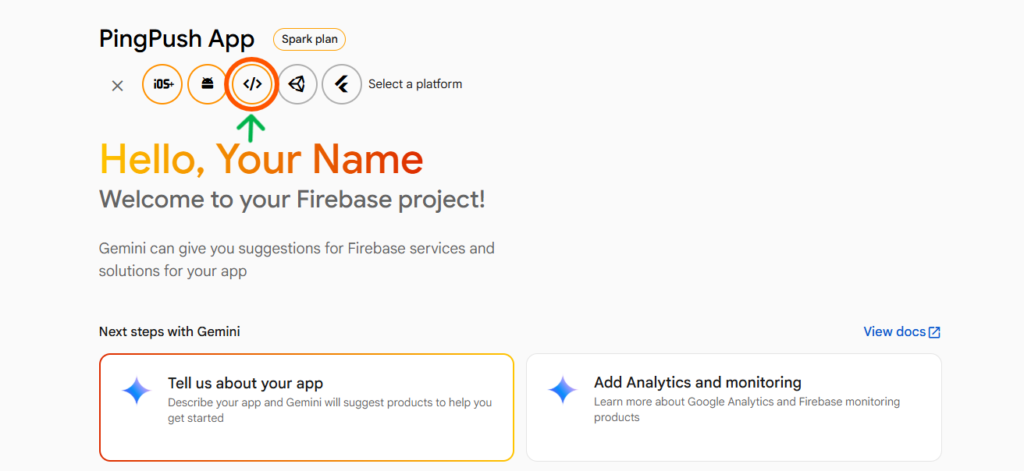
Step 5. You are now inside your Firebase project dashboard. At the top you will see platform icons. Click the Web icon which looks like < / >. It is the third icon in the row.
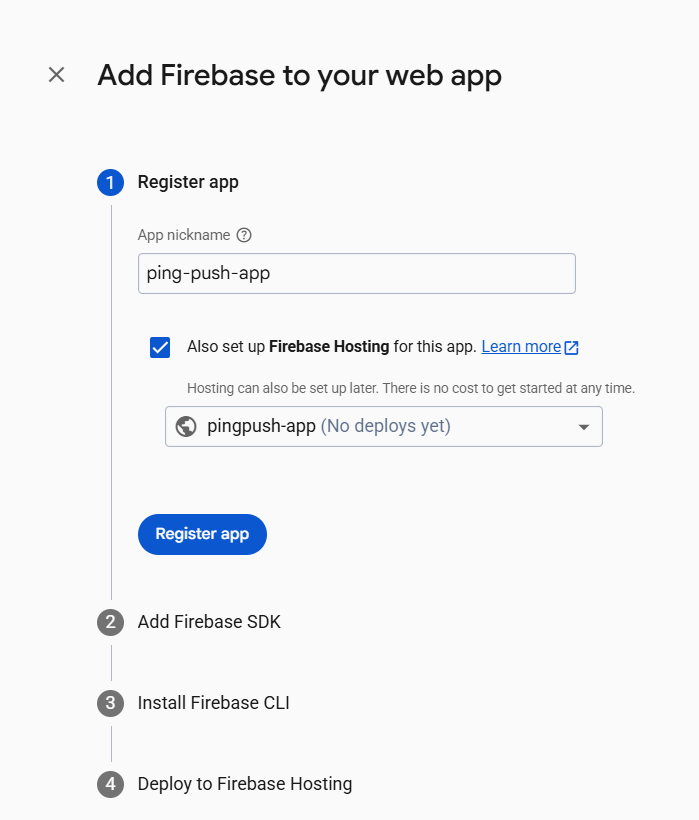
Step 6. A panel will open titled Add Firebase to your web app. Enter a name for your app, for example “ping-push-app”. Leave the Firebase Hosting option unchecked. It is not needed. Click Register app.
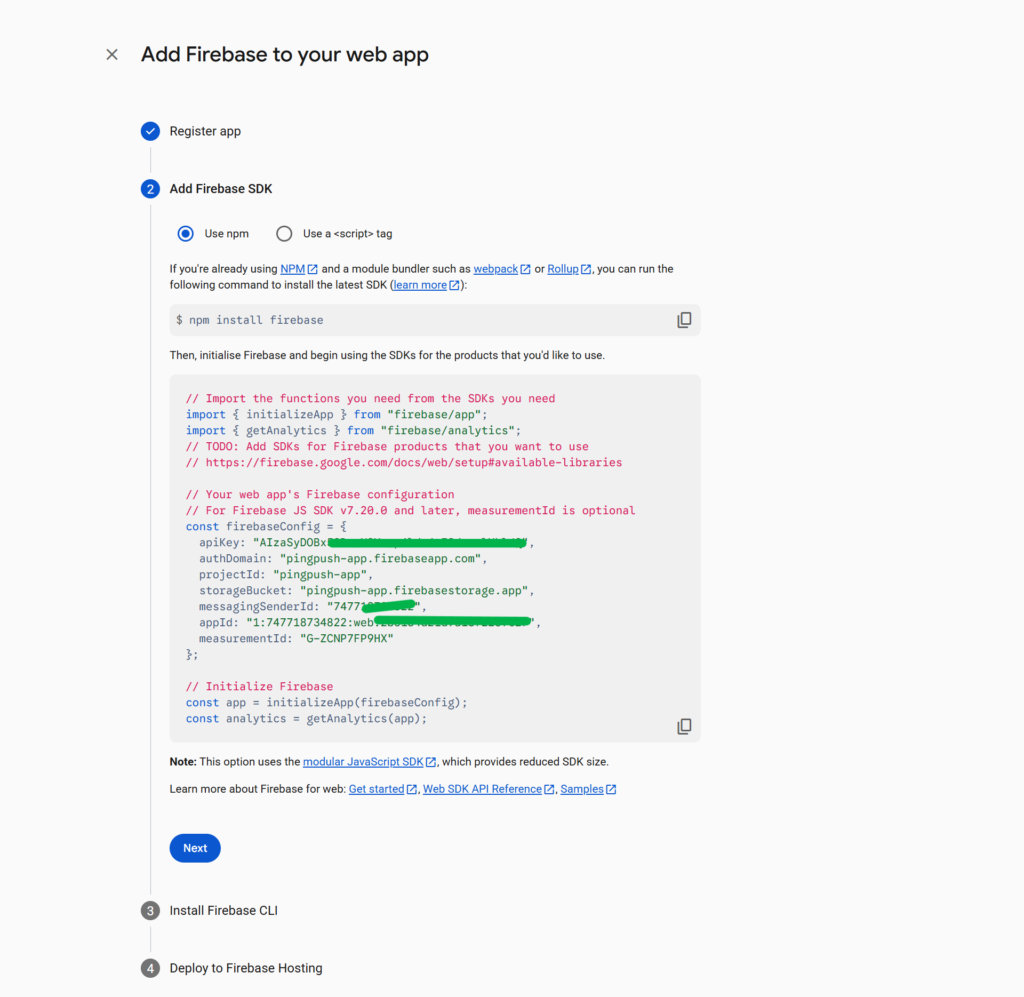
Step 7. After registering, Firebase will show you a code block. This contains your app credentials. You need to copy four values from this block:
- apiKey
- projectId
- messagingSenderId
- appId
Copy each value and save them in a Notepad or Google Doc. You will paste these into the plugin later.
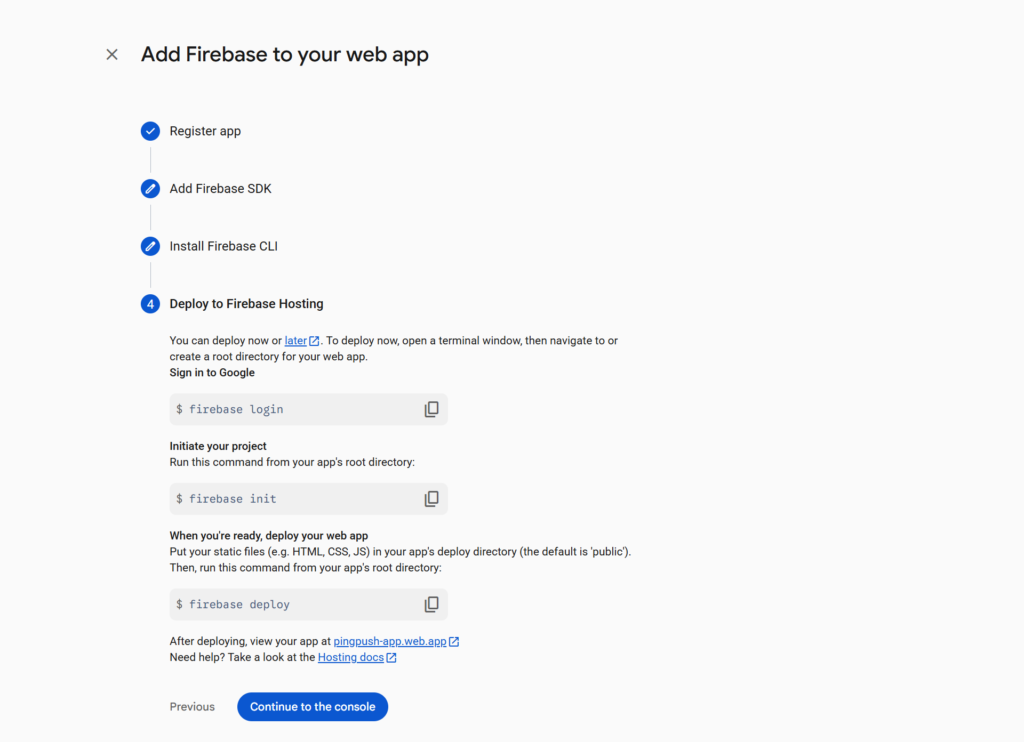
Step 8. Click Next, then Next again, then click Continue to the console. You do not need to do anything on the SDK or CLI screens.
Part 3 – Get Your API Key, Project ID and Other Credentials #
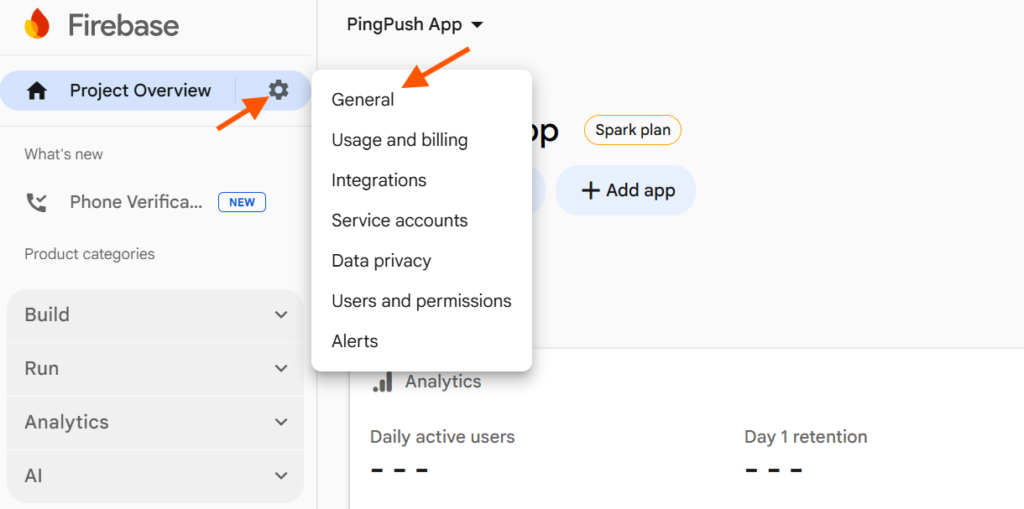
Step 9. In your Firebase project, click the gear icon next to Project Overview on the top left. From the dropdown, click General.
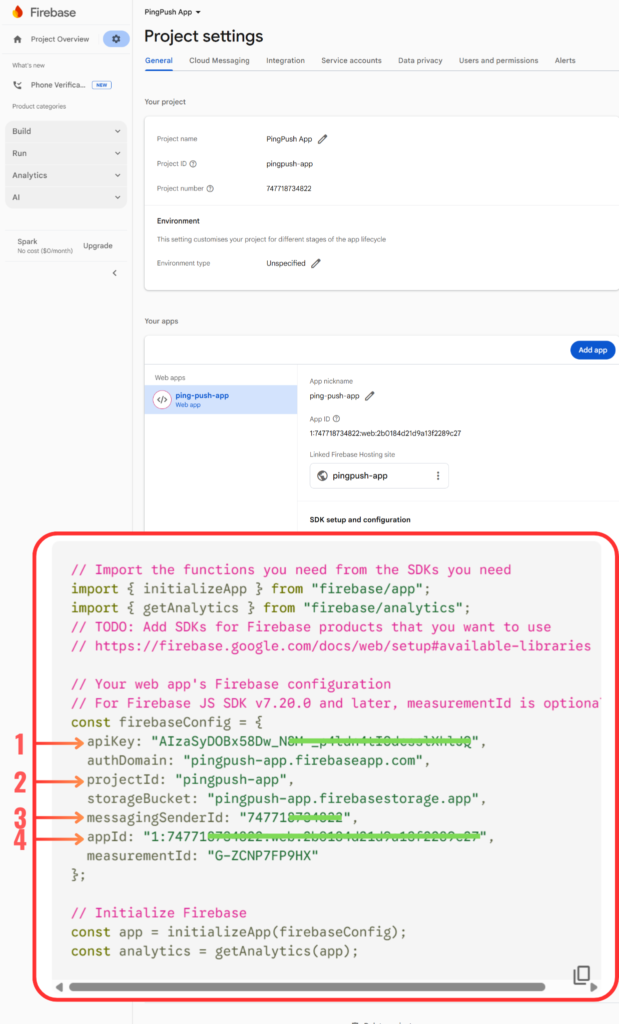
Step 10. You are now on the Project Settings page. Scroll down to the Your apps section. Click on your web app. You will see the SDK setup and configuration block. This contains the same four values you copied earlier. If you missed any, copy them from here.
- apiKey (labeled as 1 in the screenshot)
- projectId (labeled as 2)
- messagingSenderId (labeled as 3)
- appId (labeled as 4)
Part 4 – Get Your VAPID Key #
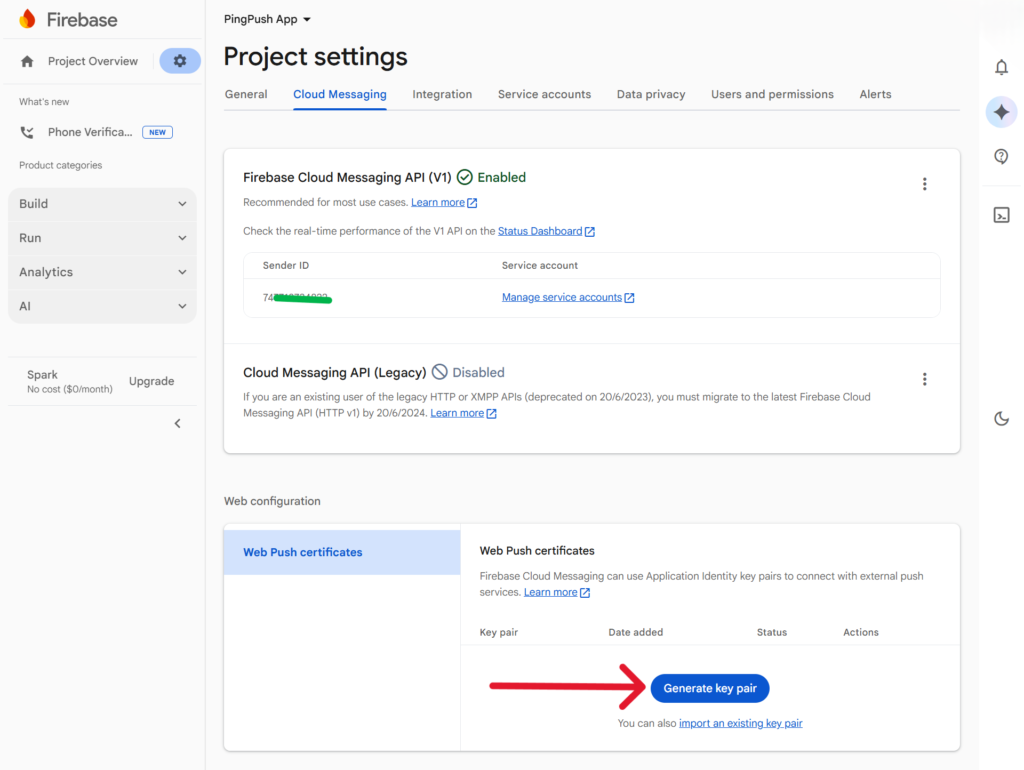
Step 11. Still in Project Settings, click the Cloud Messaging tab at the top. Scroll down to the Web configuration section. You will see Web Push certificates. Click Generate key pair.
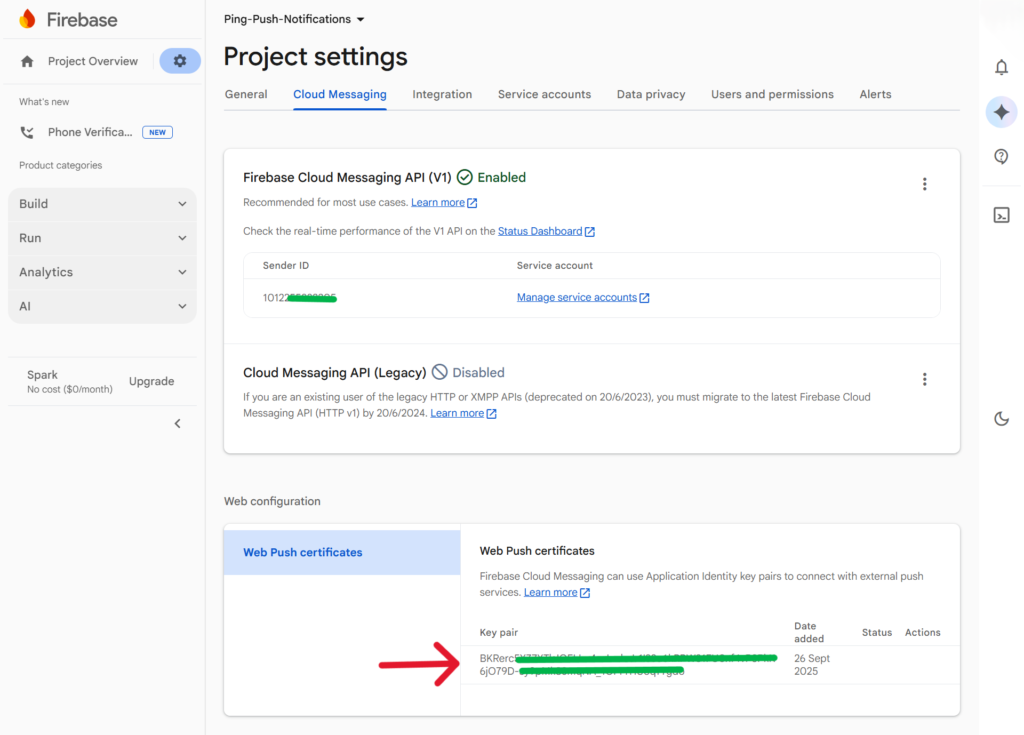
Step 12. After generating, your VAPID Key will appear in the Key pair column. Copy the full key and save it with your other credentials.
Part 5 – Download Your Service Account JSON File #
Step 13. In Project Settings, click the Service accounts tab. You will see the Firebase Admin SDK section. Click Generate new private key at the bottom.
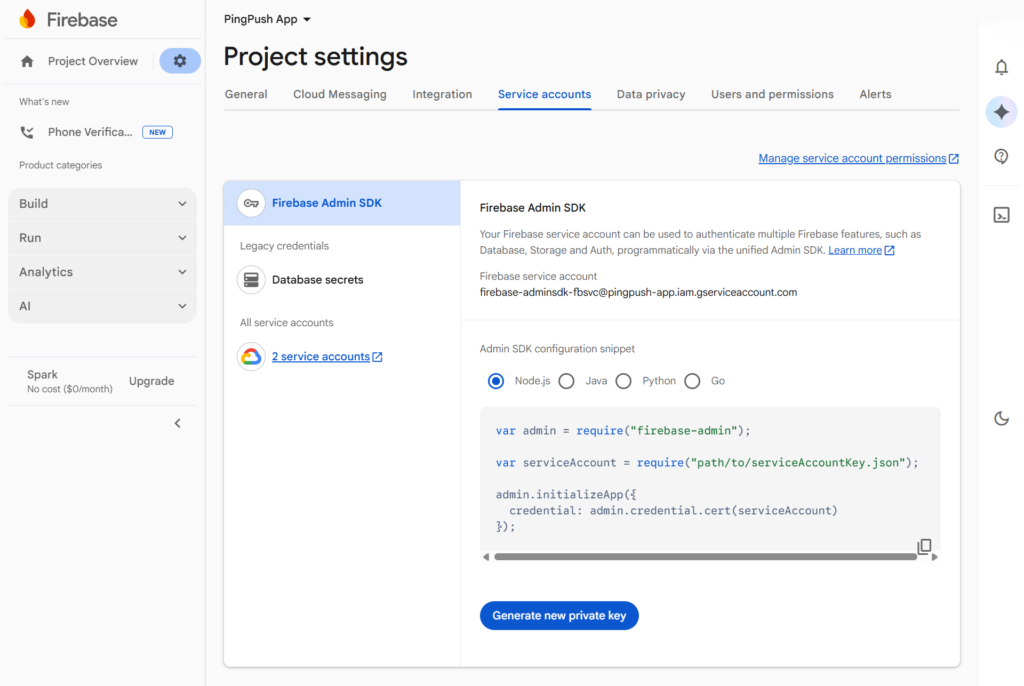
A confirmation box will appear. Click Generate key. A JSON file will download to your computer automatically.
Keep this file safe. Do not share it publicly or upload it anywhere other than the PushPilot plugin.
What You Should Have Now #
Before moving to the next guide, confirm you have all of the following saved:
- API Key
- Project ID
- Messaging Sender ID
- App ID
- VAPID Key
- Service Account JSON File downloaded to your computer
Now enter these credentials into the plugin. Read: Configure Firebase Credentials in the Plugin.